
Assessing Your Carpet Repair Needs
Let’s dive into what your carpet is trying to tell you. Before grabbing any tools, we must figure out the game’s landscape. This means taking a good, hard look at those wrinkles, bulges, and any telling signs underneath.
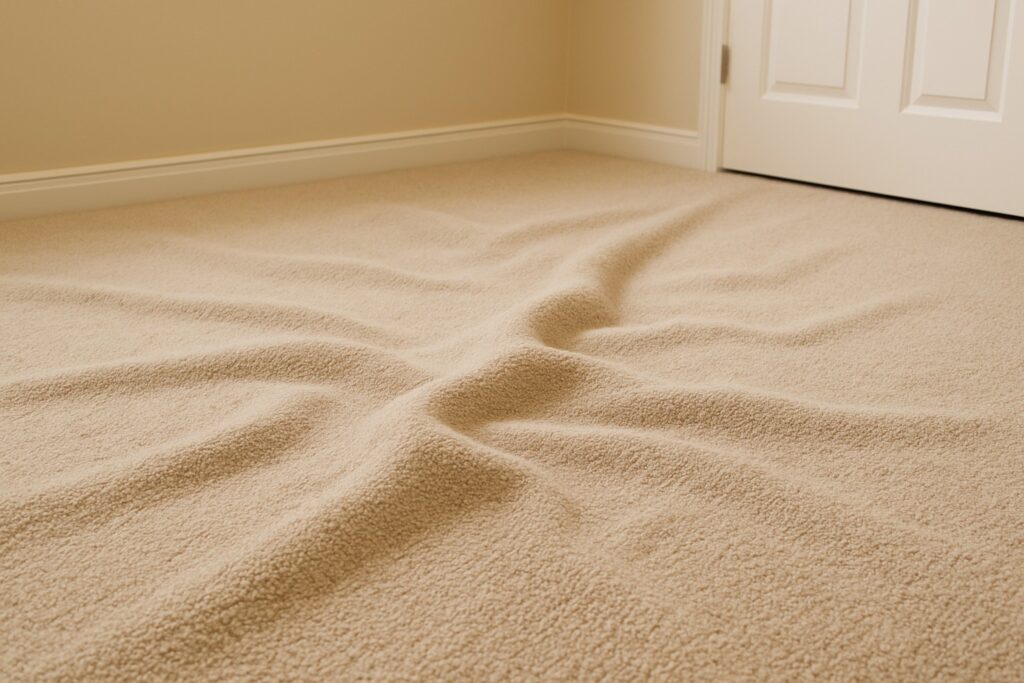
Evaluate your carpet’s trouble areas: Start by carefully inspecting your carpet where you see visible wrinkles or bulges. Those pesky lumps can appear anywhere but are more common in high-traffic zones. Why? Because frequent foot movement can loosen the once-taut carpet over time. Areas near doorways and hallways typically show the most wear, so pay them extra attention.
Navigating through your carpet’s landscape also involves peeking underneath. Check the backing for any damage or potential wear that could complicate your stretching project. A visibly worn carpet backing might resist holding tension, which poses a challenge when re-stretching.
Don’t forget about the padding! Sometimes the issue doesn’t stop at the carpet alone. The padding beneath your carpet can wear out, especially in heavily walked areas. A replacement might be necessary if it’s defective. Then, ensure you evaluate the extent of your carpet’s looseness—determine how much of your carpet requires re-stretching. Is it confined to one room, or does it stretch throughout the house? Knowing the scale makes a DIY project manageable.
Preparing the Room for Carpet Stretching
Clearing the space may seem daunting, but it sets the stage for an effortless stretching process. A clutter-free room is a clean canvas on which to work our magic.
Start by removing all furniture every piece, big or small, must find a temporary home elsewhere to give us total access to the carpet expanse. Heavy furniture especially needs careful handling. Consider hiring extra help if larger pieces prove burdensome.
No need to rush: Take time cleaning the floor. Sweep or vacuum to remove dust, crumbs, or debris that could create hiccups during your project. An even workspace ensures smooth carpet stretching.
Next, address any elements covering carpet edges, like baseboards. Detach them gently, providing access to those areas often neglected—baseboards conceal much more than we usually reckon. While you’re at it, examine the subfloor for abnormalities, like bumps or protrusions, which could complicate the stretching process.
Create a workspace conducive to comfort and visibility. Ventilate to minimize dust inhalation and keep the room well-lit. This way, you maintain focus and accuracy during your re-stretching process.
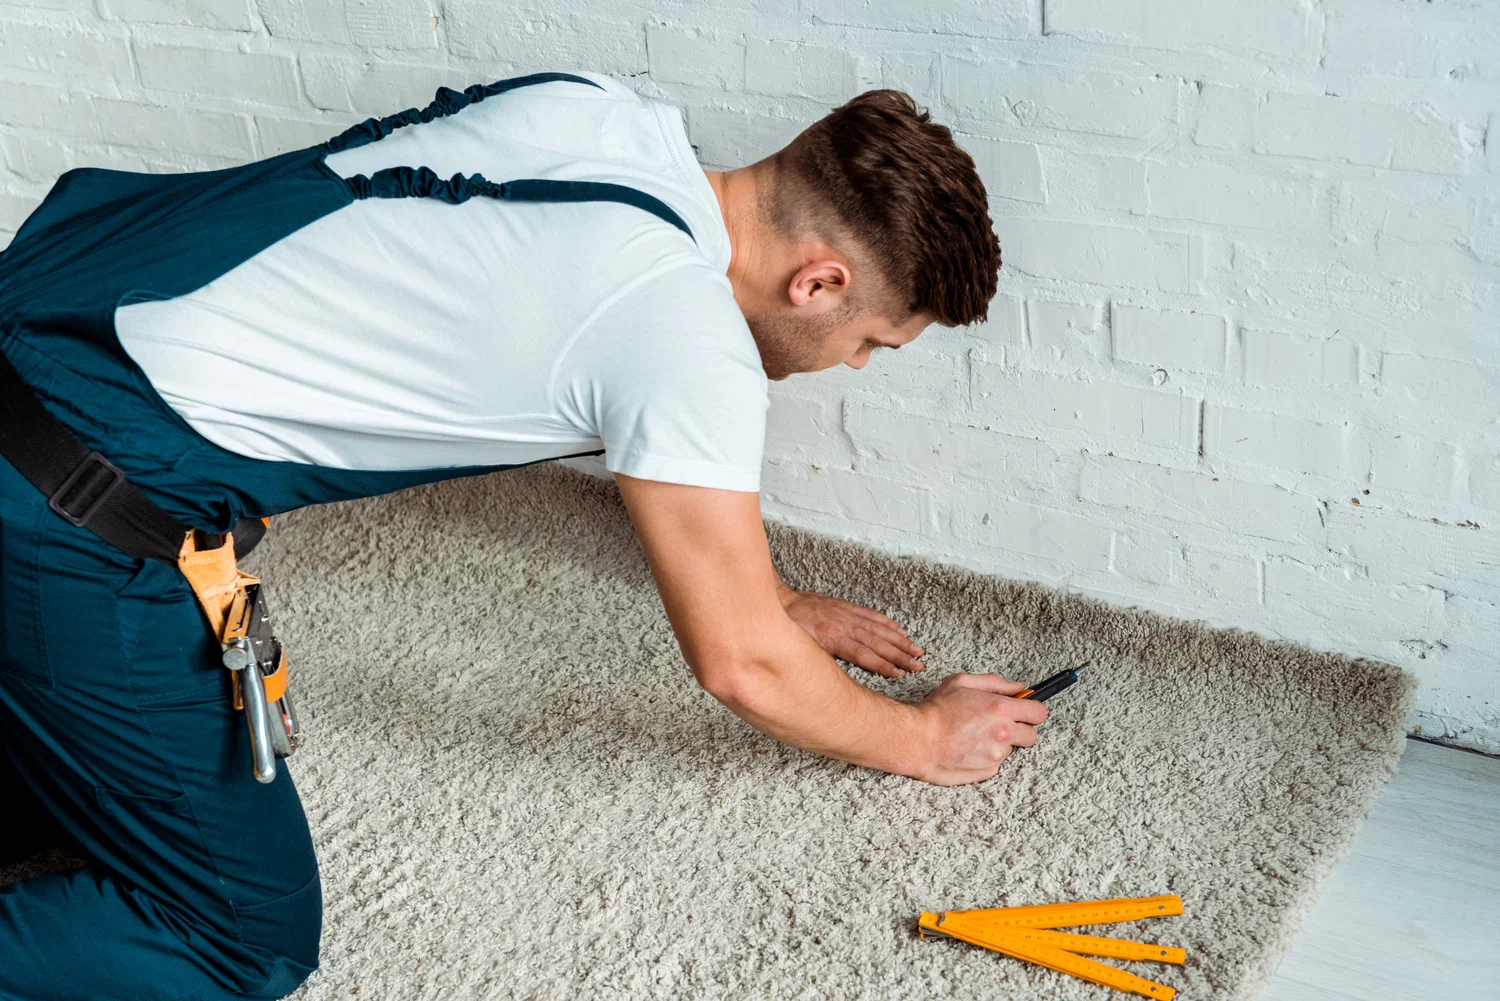
Using a Carpet Stretcher
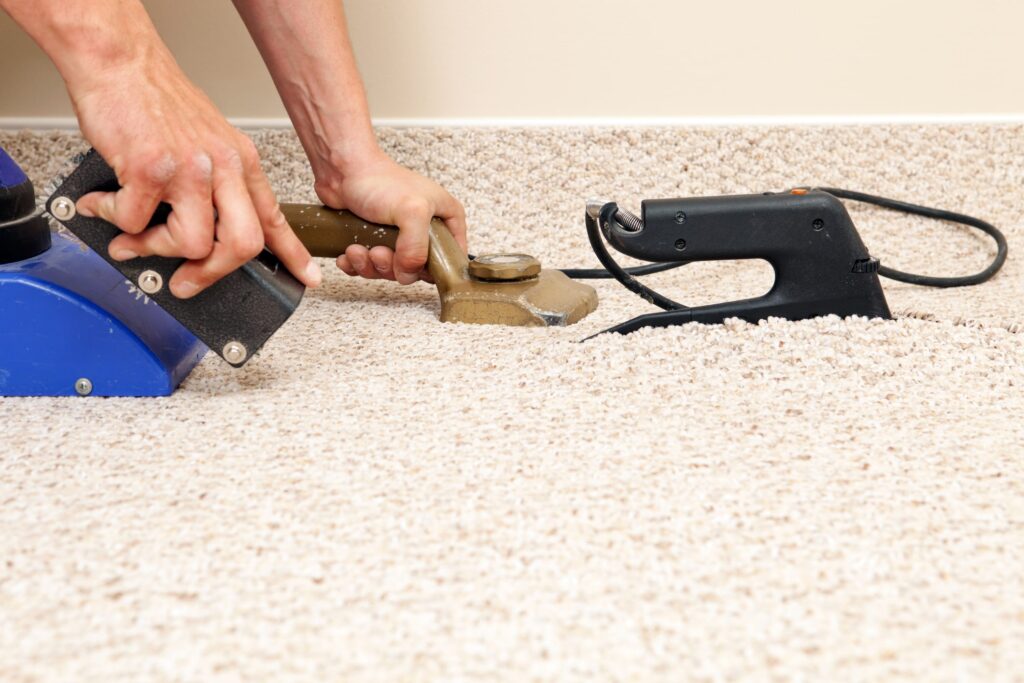
Here comes the exciting part—using our freshly gathered tools. It’s not rocket science; it’s all about precision and patience.
Position your carpet stretcher aligned with the room’s longest wall. This alignment ensures an even distribution of tension across the carpet. Starting at one end, adjust the tension gradually to eliminate those unsightly wrinkles. However, be wary not to overdo it or overstretch—an overly tight carpet fares no better than a loose one.
Next, secure the stretcher head against the wall. It’s crucial to avoid wall damage, so handle with care. It acts as an anchor point, allowing the stretcher to pull the carpet taut without relocating the device repeatedly.
Begin stretching from one corner of the room, working steadily across in a methodical manner. The result? A visually pleasing stretch that promises minimal error. As you advance, periodically reposition the stretcher to sustain the even tension. These stretching techniques work because each small move supports the final masterpiece—a wrinkle-free carpet that looks just right.
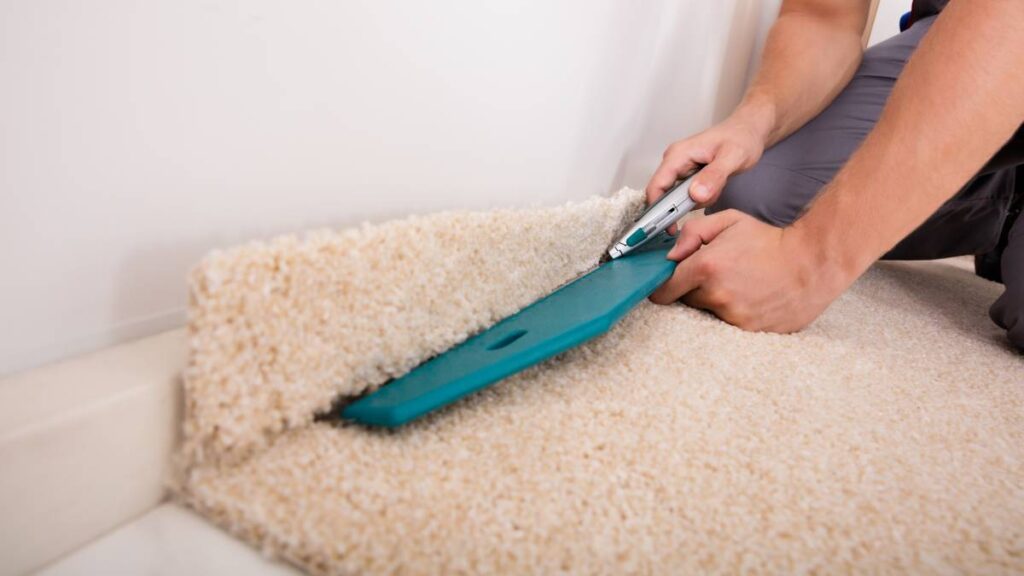
Cutting and Securing the Carpet
You’re almost at the finish line! Trimming and securing take no time as long as you’re precise.
Start by taking a carpet cutter or utility knife to trim any excess along the perimeter. Be sure to maintain a steady hand and follow straight lines. This helps avoid unfortunate mishaps or uneven edges.
Tuck the cut edges: Once trimmed, tuck them between the floor and the tack strips for a secure and tidy look. Ensure that everything lays flat without lifting. A staple gun quickly secures the tucked edges as a final measure.
Snuggly fit all corners: Using a kicker adds finesse, especially in those notoriously tricky corners where wrinkles often concentrate. By this stage, your carpet should lie flat against tack strips without gaps. Finally, a quick inspection proves our efforts were well worth it! A freshly stretched carpet not only looks good but stands the test of time.
Completing the Stretching Process
With the heavy lifting complete, it’s time to dot the i’s and cross the t’s. Let’s bring everything full circle.
Start with a final review of every section for uniform tension. Check for anything that looks off—bulges, wrinkles, or loose edges shouldn’t exist now. Correct any challenging sections immediately. Ignoring small issues now could mean starting all over later. Reattach baseboards and any room fixtures once satisfied.
Replace the furniture carefully to avoid new wrinkles. Lift rather than drag to maintain your hard work. Don’t forget a good vacuum session to restore the carpet’s appearance. Vacuuming doesn’t only enhance aesthetics; it rids the surface of debris introduced during your project.
Finishing Touches and Inspection
We’re all about making it look professional. These last steps ensure the polished finish your home deserves. Inspect seams and edges for a tidy, professional appearance. Address any frayed ends to keep everything sleek. No padding should be visible at this stage.
Feel how it holds underfoot by walking across the carpet. A sturdy installation won’t reveal discomfort or uneven sections. Celebrate! Share your DIY triumph by having friends and family test your success. Your efforts have reshaped the room’s entire feel, so why not show it off?
From Wrinkles to Ripples: Step Up Your Home with Smart Furniture Moves and a Call to Action
Wrinkles and ripples in your carpet don’t just ruin the look—they’re also tripping hazards and signs that your flooring needs attention. Whether caused by heavy furniture, time, or improper installation, these flaws can be fixed with the right tools and approach.
Carpet repair starts with moving furniture carefully to expose the entire carpet. Excess carpet may need trimming with a carpet cutter, especially if it’s bunched or misaligned. Using a carpet power stretcher is essential for smoothing out ripples and securing the carpet tightly across the room. Sharp tacks or tack strips help hold it firmly in place, making sure it stays put even with daily wear. If you’re dealing with old carpet or a unique carpet type, repairs may require special tools and expertise. That’s where professional carpet cleaning and repair services come in. Companies specializing in residential carpet care know how to handle everything from subtle wrinkles to major bulges, ensuring your floors look their best.
Don’t let minor imperfections turn into major problems. Whether you’re working with leftover excess carpet or evaluating if it’s time for an upgrade, consider calling in the pros. Your home deserves smooth, safe, and stylish flooring—and sometimes, all it takes is one smart call.
Understanding the Cost of Carpet Stretching

At S&S Floors, we recognize understanding costs is vital, especially when considering if DIY suits you. Let’s break it down.
Consider buying or renting carpet stretchers and knee kickers. Do the math: own or borrow? Purchases have upfront costs, but rentals add up if frequent stretches lay ahead. Professional services fetch a price too but require no manpower upfront.
Evaluate your newly acquired skills. Is saving money worth your time expenditure? You’ve now acquired a skill useful for future touch-ups, carrying over what you’ve learned to demand less from repair pros later.
Budget-conscious folks may see not just monetary savings but value in effort and self-sufficiency. Sometimes, doing it yourself pays tenfold in pride alone.
By now, you’re not just any homeowner—you’re a carpet connoisseur. Mastering this task translates to fewer calls for external help, saving some serious cash down the road.
For those in St. Charles County, carpet stretching services and expert help are always nearby. Reach out to S&S Floors at cs@ssflooringrepairs.com or call 314-280-0640 for advice or expert services.
Let’s wrap it up, shall we?

