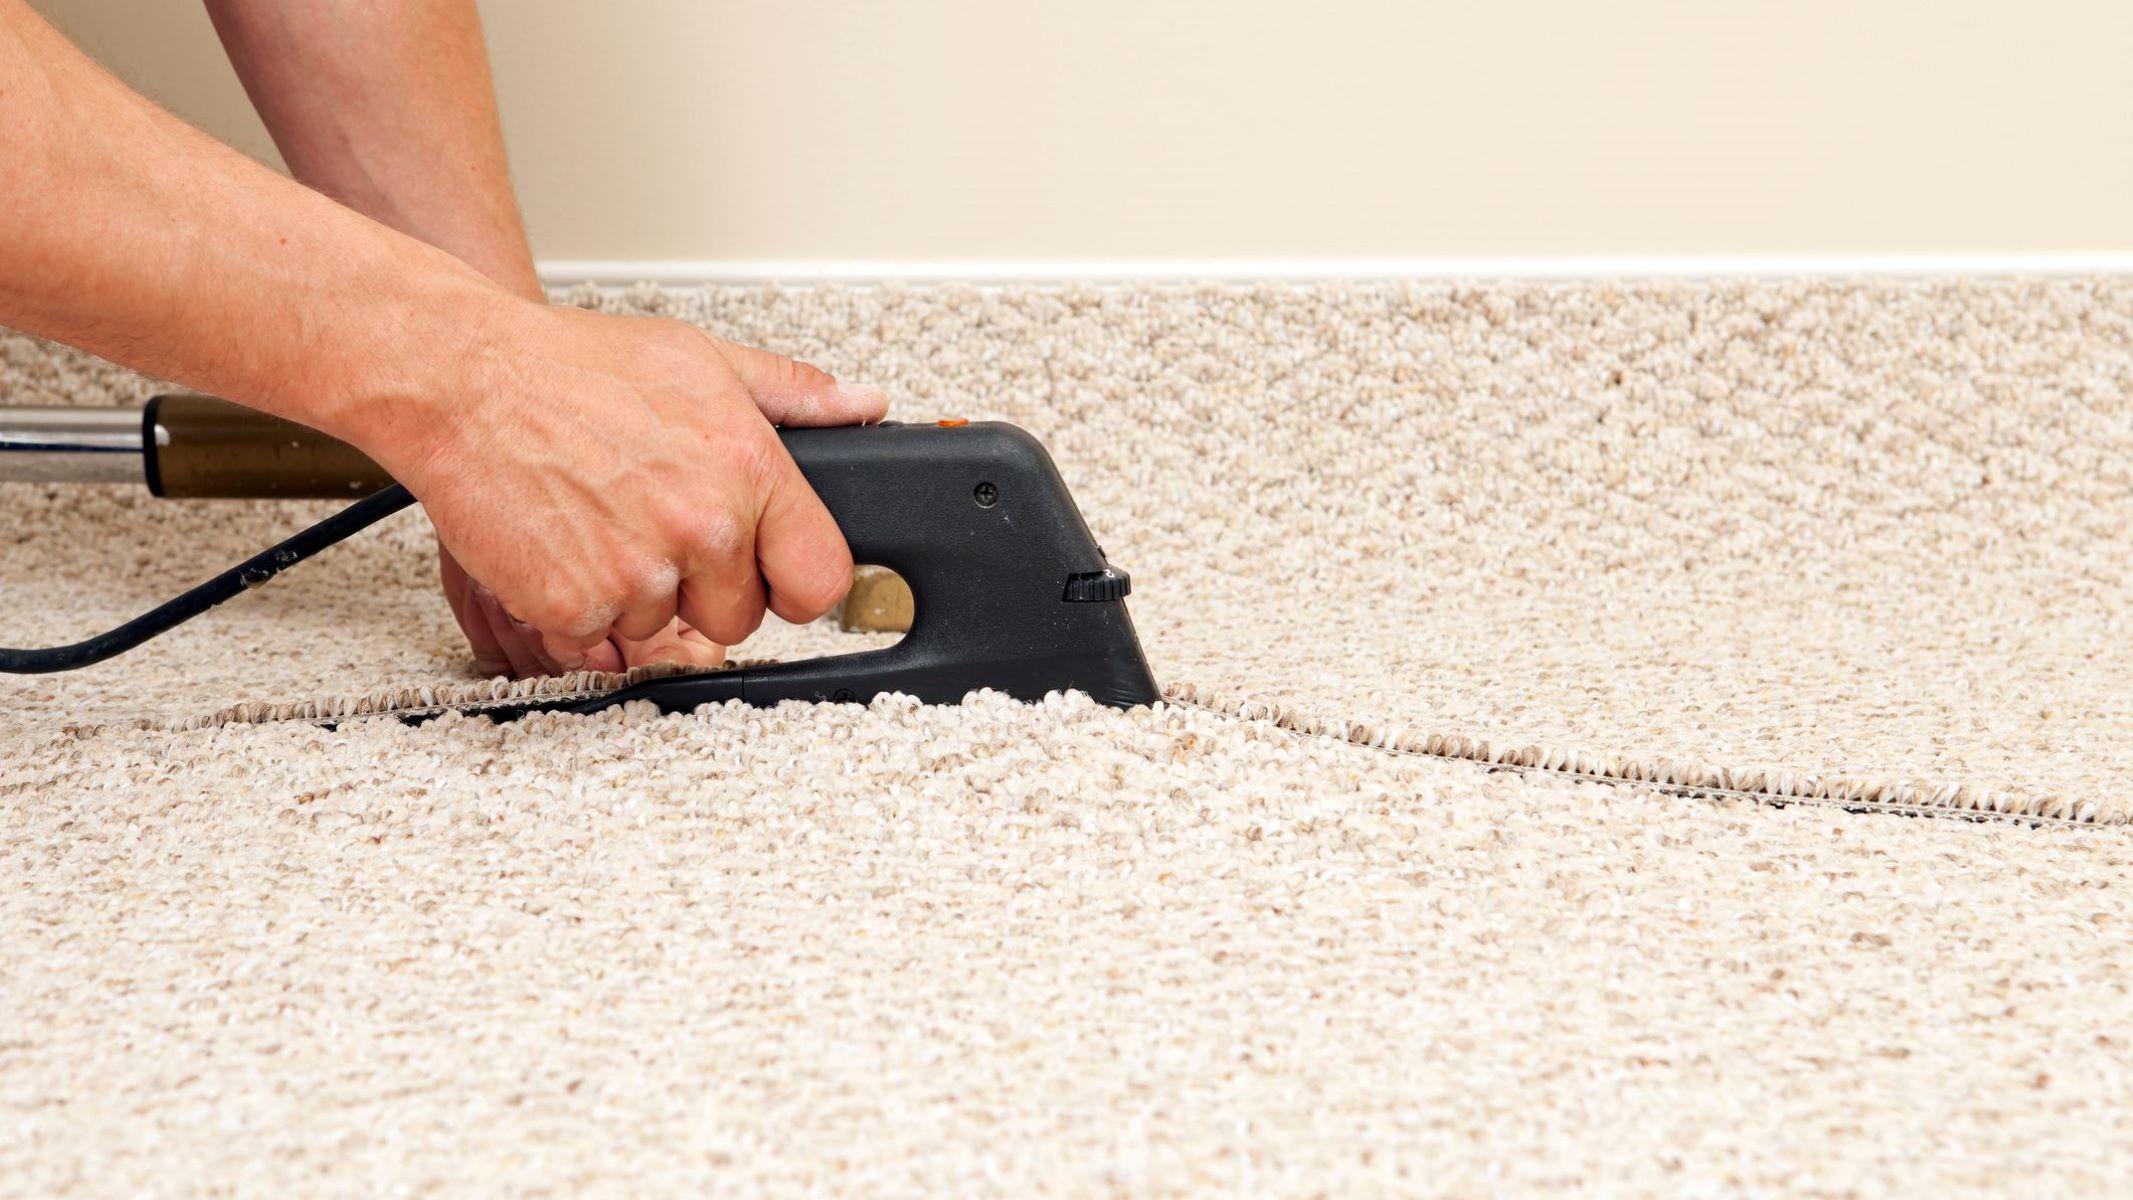
At S&S Floors we understand that carpet adds warmth and character to any room. However, over time, carpets can develop wrinkles and bumps that not only disrupt the look of your space but also create tripping hazards. Ripples from natural wear, moisture, or improper installation can be frustrating and unsightly. Fortunately, with a few simple steps and the right tools, you can restore your carpet to a smooth, flawless finish.
Why Do Carpets Develop Wrinkles and Bumps?
- Improper Installation: Carpets that aren’t stretched adequately during installation tend to loosen and wrinkle over time.
- Heavy Traffic: Regular foot traffic, especially in high-use areas, can gradually cause carpets to shift and ripple.
- Humidity and Moisture: Carpets in areas with higher humidity or those exposed to water can absorb moisture, which loosens the fibers and causes rippling.
- Frequent Furniture Rearrangement: Moving heavy furniture across carpet without lifting can tug on the fibers, leading to bumps and wrinkles.
Identifying the root cause can help in selecting the best fix and preventing similar issues in the future.
DIY Guide to Fixing Carpet Wrinkles and Bumps
1. Gather the Right Tools
For a successful carpet restorer, having the right tools is essential. You’ll need:
- Power Stretcher: This tool provides the tension needed to pull larger wrinkles out of the carpet and make it taut.
- Knee Kicker: It is useful for smaller spaces or corners where maneuvering a power stretcher may be difficult.
- Utility knife: Trim any excess carpet after stretching.
- Carpet trimmer: Achieve precise edges along walls and corners.
- Stapler or Tack Strips: Secure the carpet after stretching.
Hardware stores offer many of these tools for rent, making DIY carpet restretching more accessible.
2. Clear the Room
Move all furniture and heavy items out of the room. This step allows you full access to stretch the carpet evenly and ensures that no obstacles get in the way. With an open floor, you can avoid uneven tension and make the stretching process more effective.
3. Lift the Carpet Edges
Start by carefully detaching the carpet from the tack strips along the walls. Handle this gently to avoid damaging the carpet backing. Carefully lift it using a flathead screwdriver or pliers to avoid tearing.
4. Stretch the carpet
With the carpet edges free, use the power stretcher to apply tension across the length of the carpet. Place the stretcher near one wall, pushing toward the opposite wall. Working in sections is key here—start from the center and move outward, applying even pressure. A knee kicker can be helpful for corners and edges, where a power stretcher might be too large to use effectively.
5. Trim and secure
After stretching, use a utility knife or carpet trimmer to cut any excess carpet that might extend past the edges. Once trimmed, press the carpet back onto the tack strips or secure it with staples, ensuring it stays in place.
6. Replace Furniture Carefully
With the carpet now taut and smooth, carefully move your furniture back into the room. Take care not to drag heavy items directly over the carpet, as this could undo your hard work. Lifting and positioning furniture rather than sliding it helps maintain the freshly stretched surface.
The Benefits of Professional Carpet Restretching
For minor ripples, DIY can be effective, but professionals should handle larger wrinkles or widespread carpet issues. S&S Floors specializes in professional carpet repair and restretching in O’Fallon, MO, using specialized equipment and techniques that achieve a flawless result. Our team’s experience allows us to quickly and efficiently handle even the most challenging carpet issues, helping you avoid the hassle of repeat fixes.
- Long-lasting Results: Proper stretching prevents wrinkles from reappearing, ensuring your carpet remains in top condition.
- Time Efficiency: DIY stretching can be time-consuming and physically demanding, whereas professional services handle the entire process quickly.
- Reduced Risk of Damage: With our expertise, we ensure the process doesn’t damage the carpet or underlying padding.
Reasons to Select S&S Floors for Your Carpet Repair Services
- Local Expertise: We understand the local environment and its impact on carpet wear, helping us choose the best solutions for our clients.
- Customized Service: We recognize that every home and carpet is different, so we adjust our methods to suit each specific case, guaranteeing the best outcome.
- Full-Service Support: From the initial inspection to post-repair advice, we support you every step of the way.


