Grout is crucial in keeping up the integrity and the look of your tiles. It does not only keep the tiles firmly fixed, but also does not allow the moisture, dirt, and bacteria to seep under the tiles. Gradually, grout may be stained, cracked or worn off and this undermines the appearance and life of your tiled places. The question many homeowners ask themselves is; can old grout be overlaid with new grout? Although it may be a quick-fix solution, the regrouting will not be done properly, which can cause the development of additional damage and a reduced life of your tiles.
Expert Regrouting Tips for a Lasting, Flawless Finish
This blog will discuss the optimal methods of regrouting, we will also present the professional tips of regrouting by seasoned tile experts, and also we will give practical solutions to achieve a smooth long lasting finish. Regardless of whether you are addressing a backsplash in the bathroom, kitchen counters, or a tiled floor, knowing how to do the right thing when it comes to rewriting will save you time, effort, and money and have your surfaces looking clean and safe.
Understanding Grout and Its Purpose
The material utilized to fill in between the tiles is grout. It:
- Secures tiles in place
- Prevents water damage
- Improves the appearance of tiled surfaces.
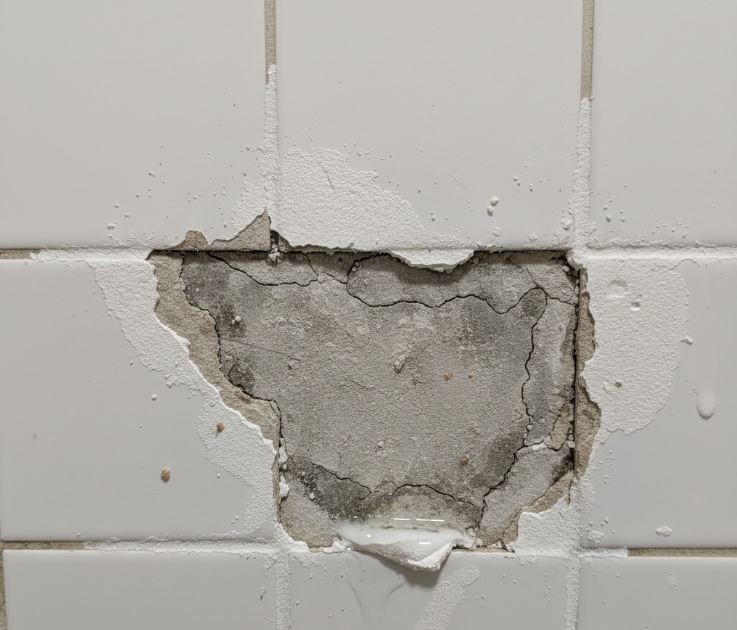
The grout may degrade over time as a result of moisture, cleaning chemicals or natural wear and tear. Cracked or discolored old grout may not only be unattractive, but may also be impractical to use.
Can You Put New Grout Over Old Grout?
Why Simply Adding New Grout Isn’t Recommended
Although it might seem to be convenient to specify the new grout over the old grout, it is likely to cause issues:
- The new grout will break or come off due to poor adhesion.
- Surfaces that are irregular that influence the alignment of tiles.
- Pressed dirt or water, which causes the growth of mold and mildew.
The Proper Way to Regrout
1. Remove the Old Grout
With a grout saw or oscillating tool, cut the damaged or worn-out grout at least down to a depth of 2 -3 mm.
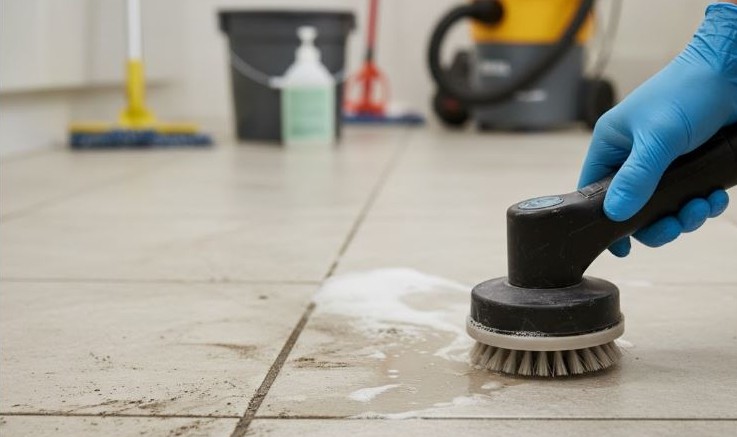
2. Clean the Tiles and Joints
Clean the gaps between the tiles to ensure that there is no debris, dust and moisture that will cause poor adhesion.
3. Apply the New Grout
Prepare the grout as per the instructions given by the manufacturer and pour it on evenly using a rubber float.
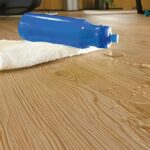
4. Seal the Grout
After it is dry, a grout sealer should be applied to avoid stains, water damage and growth of molds.
Hints and Tips for a Perfect Regrouting Job
- Select Applicable Grout Type: Sanded grout is applicable to larger joints, whereas unsanded is suitable to the narrow joints.
- Work in Small Sections: This will help in ensuring that the grout does not dry up before you can smooth it.
- Wipe Tiles Off regularly: This should be done with a wet sponge to prevent hardened residue.
- Proper Curing: Let properly dry and normally 2472 hours of grout dry before it comes in contact with water.
Common Mistakes to Avoid
1. Skipping Grout Removal
The old grout flakes when new grout is applied over the damaged old grout, thereby decreasing the durability.
2. Using the Wrong Grout Type
The choice of the grout that does not fit your joints or your type of tiles may lead to cracking or shrinking.
3. Neglecting Sealing
Unsealed grout can easily receive stains and be damaged by water, thus reducing the life of your work.
FAQs About Regrouting
They include humidity variations, improper installation, and heavy traffic of furniture as the main reasons.
The regrouting is normally required after every 5-10 years based on usage and maintenance.
It is always advisable to scrape off old grout to the utmost adhesive properties, though it may not seem very hard.
The grout normally takes up to 24-72 hours depending on the type of grout and environmental factors.
Absolutely! An excellent opportunity to renew the appearance of the tiles is regrouting, in which case a new color can be used.
Conclusion
At S&S Floors, while it may be tempting to apply new grout over the old, the most effective method is to first remove the existing grout and then apply a fresh layer for a lasting finish. Proper preparation will guarantee adhesion, durability and clean polished look. With the right actions, which you can use the materials that are of good quality, and the right professional steps, your tiled surfaces can be fresh and durable in the coming years.
👉 Click Here to Connect With Us! —> schedule Your Free Consultation Today